Here I am! Having already written a post on how to color the lycra: https://stellassjcosplay.wordpress.com/2012/08/29/nina-williams-w-i-p-1-camouflge/ now I will try to explain the main steps for the realization of the costume of Nina Williams.
The first choice to make, as in many other cases, is the image to be referenced. The costume is the same for Nina Williams in: Tekken 5, Tekken 6 and Tekken Tag Tournament 2. The fundamental difference is between the images of the game and the official images (promotional, wallpapers etc):
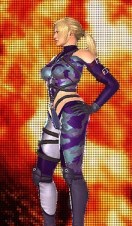
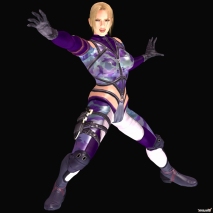
In the videogame:
.
… there are different immages…
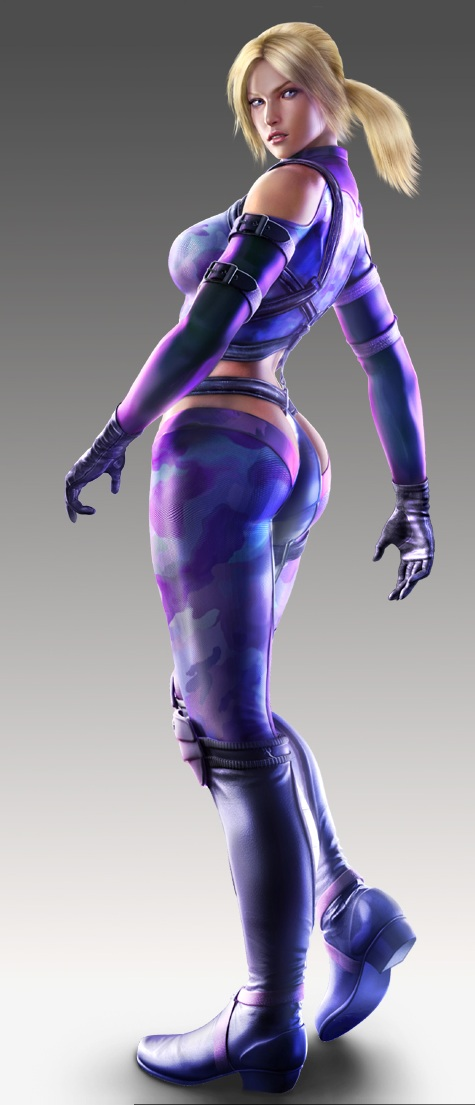
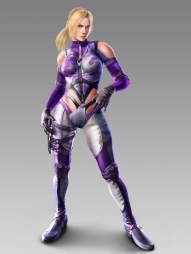 In the official images:
– The background is a very pale blue
– The camouflage design on the chest is asymmetrical
– The boots are from blue to iridescent lilac
– Knee pads are purple.
I chose a compromise in order to make a costume that is instantly recognizable and similar to both. I finally based on official image, I darkened the background of the camouflage, realizing it blue, and boots, realizing them gray. I think it’s a good one!
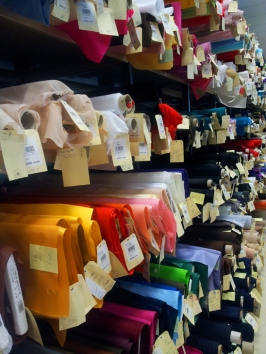
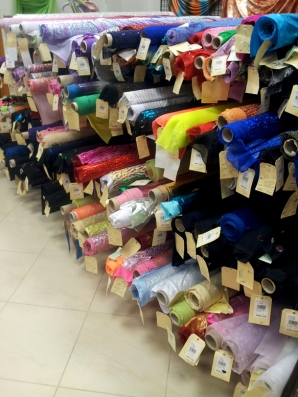
Once you have decided on the color, we proceed to the purchase! Just to start.. two photos of the stores:
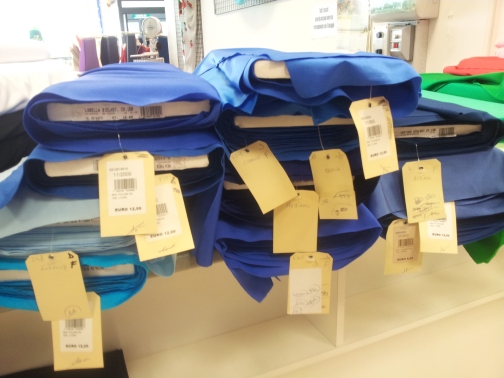
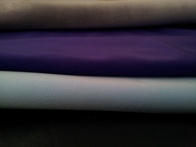
But this was the sector I deserve (blue, cyan, gray.. not easy to choose truly):
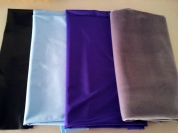
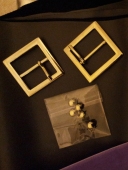
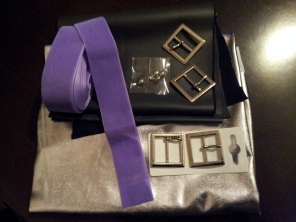
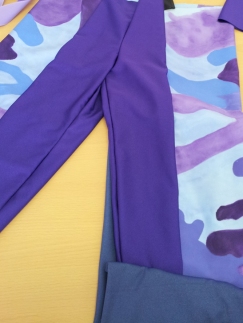
Here are some fabrics I’ve bought, buckles, bands and studs:
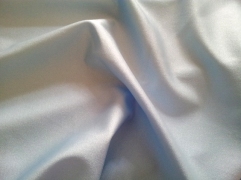
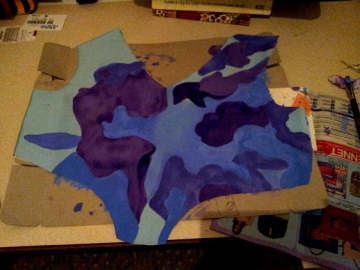
The first fabric on which I started to work on was the cyan lycra. After making the pattern, and fixed them at the various parts of the lycra, I’ve cut them:

So I’ve finally painting! Strongly advised not to paint the lycra after having already sewn! The color pierces the fabric and may stain all your work! Honestly to paint all the pieces, let them dry, go over some parts to get the desired tone, it took me a couple of days. This is not a job you do in half an hour..
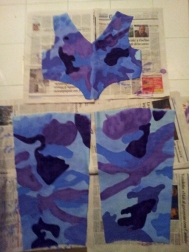
Once painted and passed with an iron to set the color, you can begin assembly..
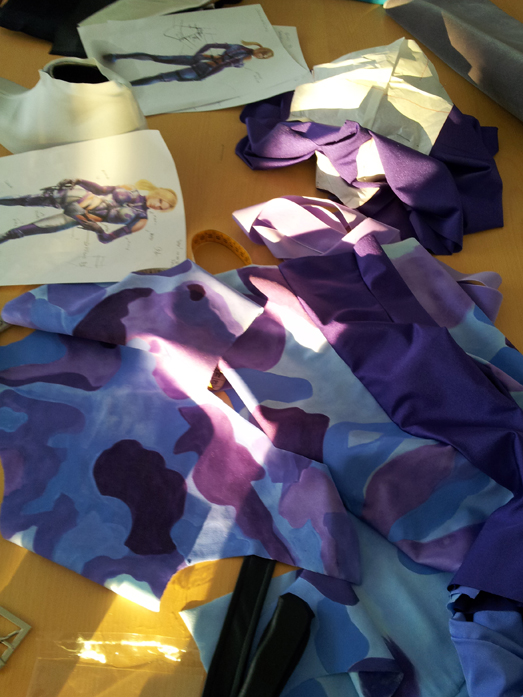
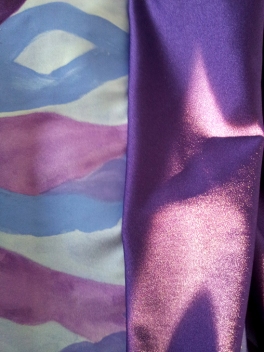
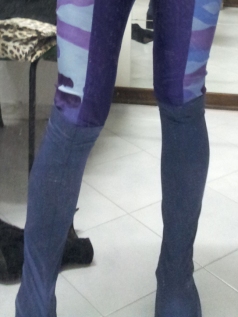
The camouflage is joined to purple to make the base of the catsuit (note that the color are very different according to the light of the moment)
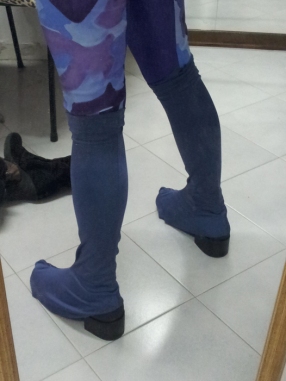
The gray lycra is used to create the false boots (and for cover the true boots..) in the picture the work is not yet finished, as you can see. The work on the shoes is very hard if you don’t have a model to use!
The gray metallic lycra is used to create the bumpers, which are sewn at the end over the rest:

This was the result of the shoes and the bumpers (I really like them!):
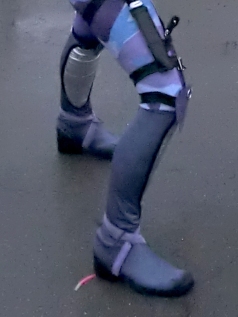

Finally you can add the leather strings. (This ia really the last part, cause you have to fix them with great precision when the costume is almost finished.. but you have to do some attempts also to see how much leather strings do you need):
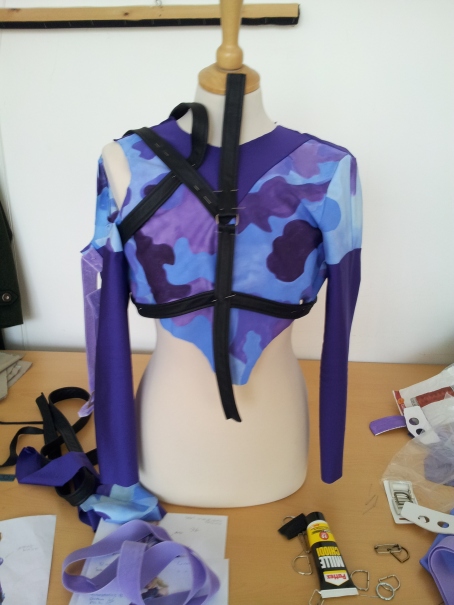
With the same leather strings, I’ve realize the support for the knife:

..so.. as you can see it took a long work..
Truly, is not easy to explain all the steps, and above all you do not always have the time to do a lot of pictures while you are working. And then .. all cosplayers have some secrets they want to keep tight! I’d like to make another post to show the details that I have not photographed yet, as the straps on the sleeves and over the shoes, the closures on the back, and some details of the accessories, such as the knife and knee pads. But there is no two without three, then sooner or later it will write again another post. Stay tuned. For now, the final frame of a work in progress was this .. I was too happy when I finally wore the costume almost finished:
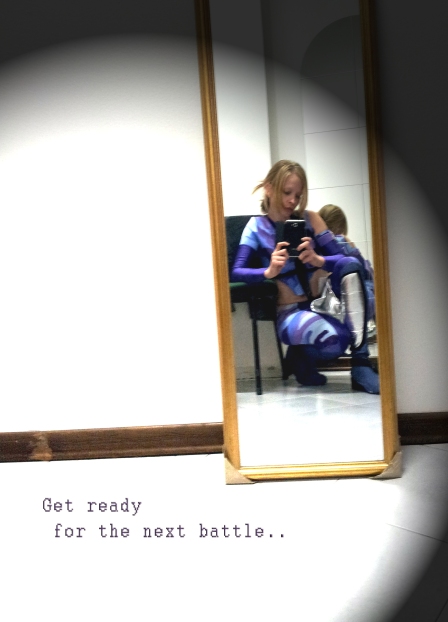
Hope you like it!! Bye!